Baked apples in crunchy puff pastry
Another great fall treat with apples!
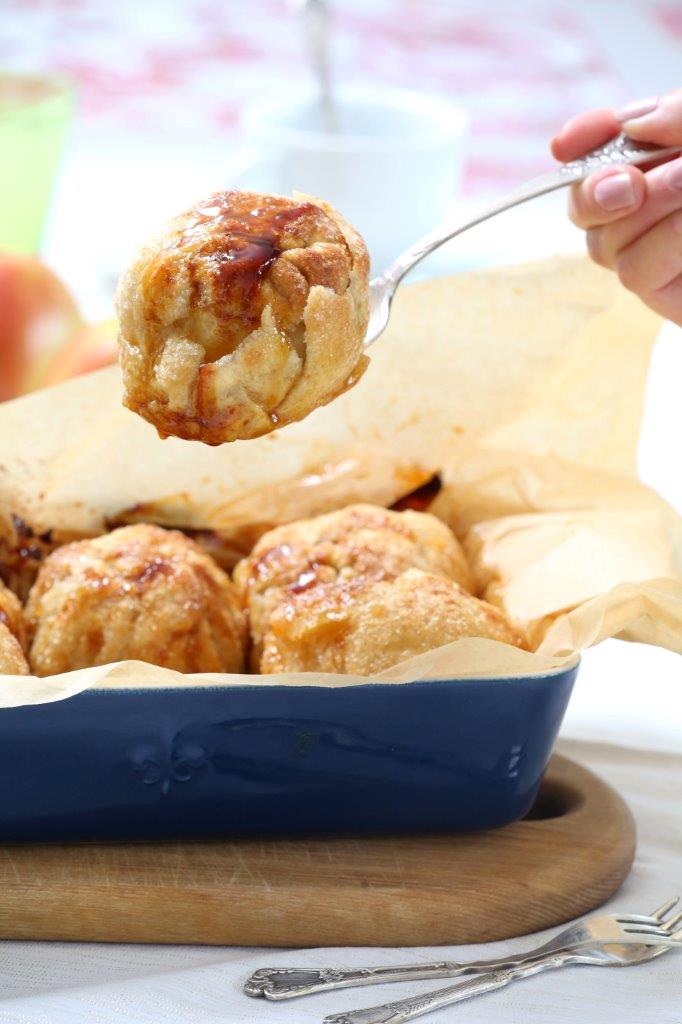
The puff pastry crust needs to be crunchy and caramelized, the apple in the center- soft and sweetly sour. You can scoop up the caramel from the bottom of the pan and pour it over the apples before serving- super delicious!
I figured out this recipe from a picture my sister in law sent from her trip to Holland. She said this dessert was absolutely amazing and a must-try in Holland. So from just looking at the picture and my sister in laws stories about how it tasted- we came up with this recipe. Sugar is a key ingredient here and you shouldn’t be afraid to use it generously. It is what makes the caramel ooze out at the bottom of the pan and just adds extra crunchiness to the crust.
8 sweet and sour apples, best for baking, peeled
1 pack of frozen puff pastry, should be 4 rectangles cut in half
8+ tbsp brown sugar
Cinnamon, ground
1. Preheat the oven to 180 degrees (celsius), line a deep baking pan with parchment paper.
2. Remove the dough from the freezer and place on the counter that has been covered with flour. After 15-20 minutes they will be ready to be rolled out.
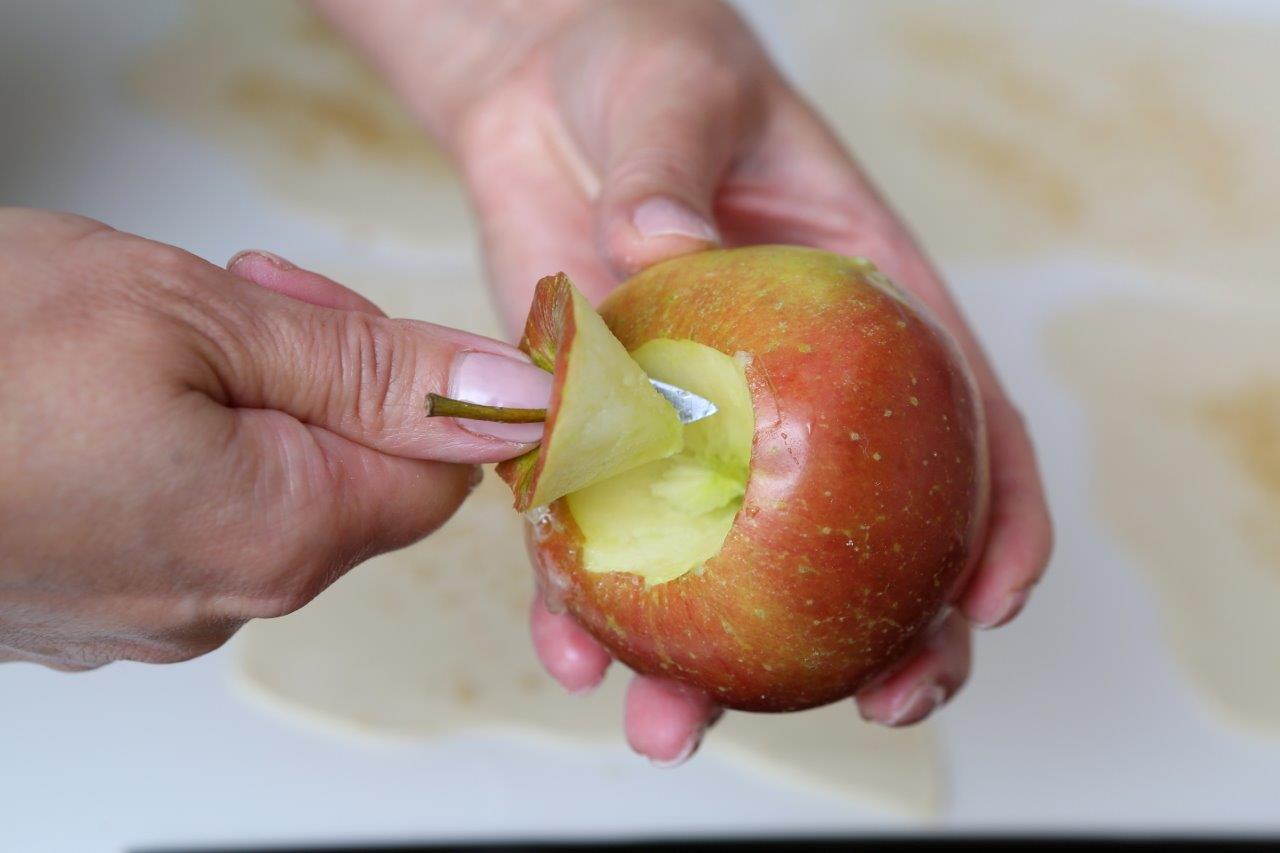
3. Peel the apples and cut out the core like this: you cut a cone shaped hole at both ends of the apple, leaving the center intact so the sugar doesn’t spill through. One cone on the top needs to be bigger- that is where the sugar will be.
4. Once the dough has defrosted, cut the rectangles in half making 8 squares.
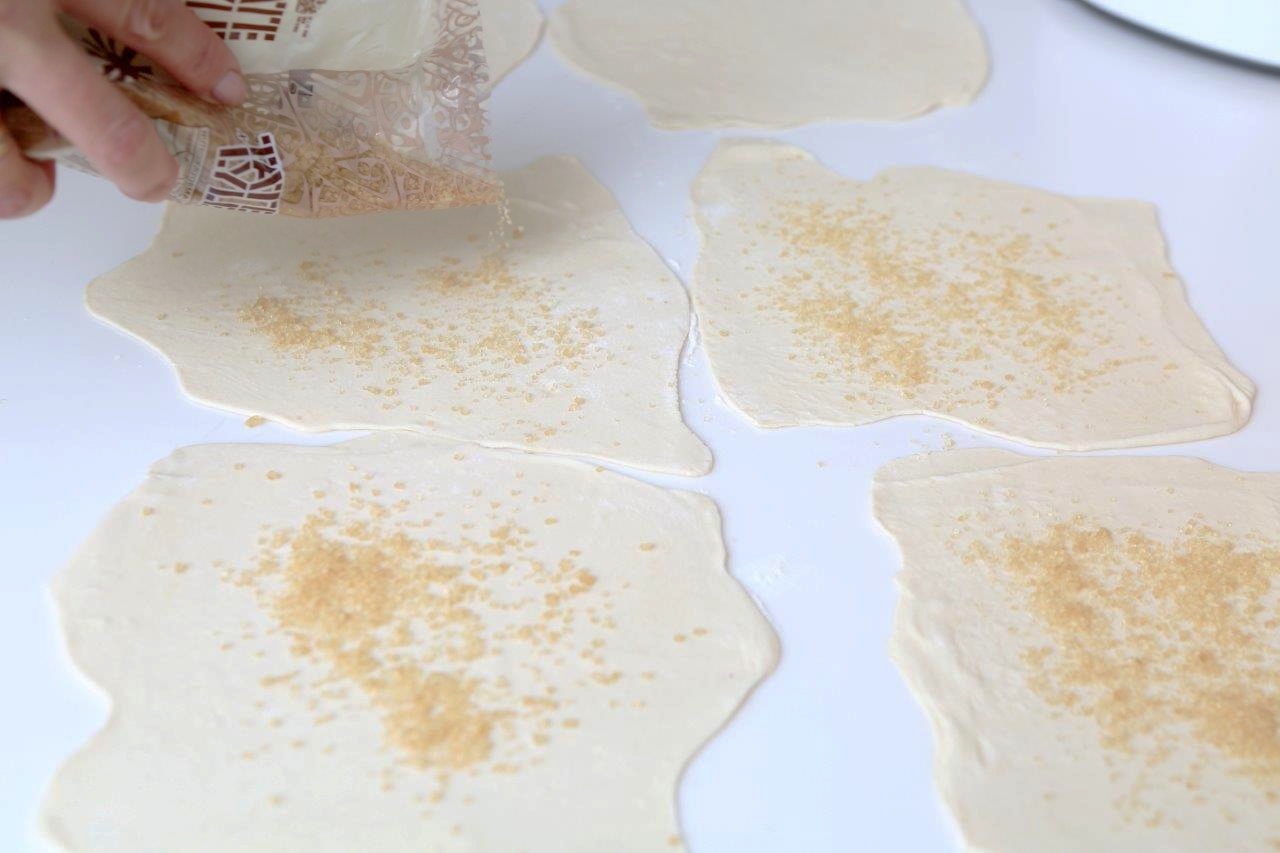
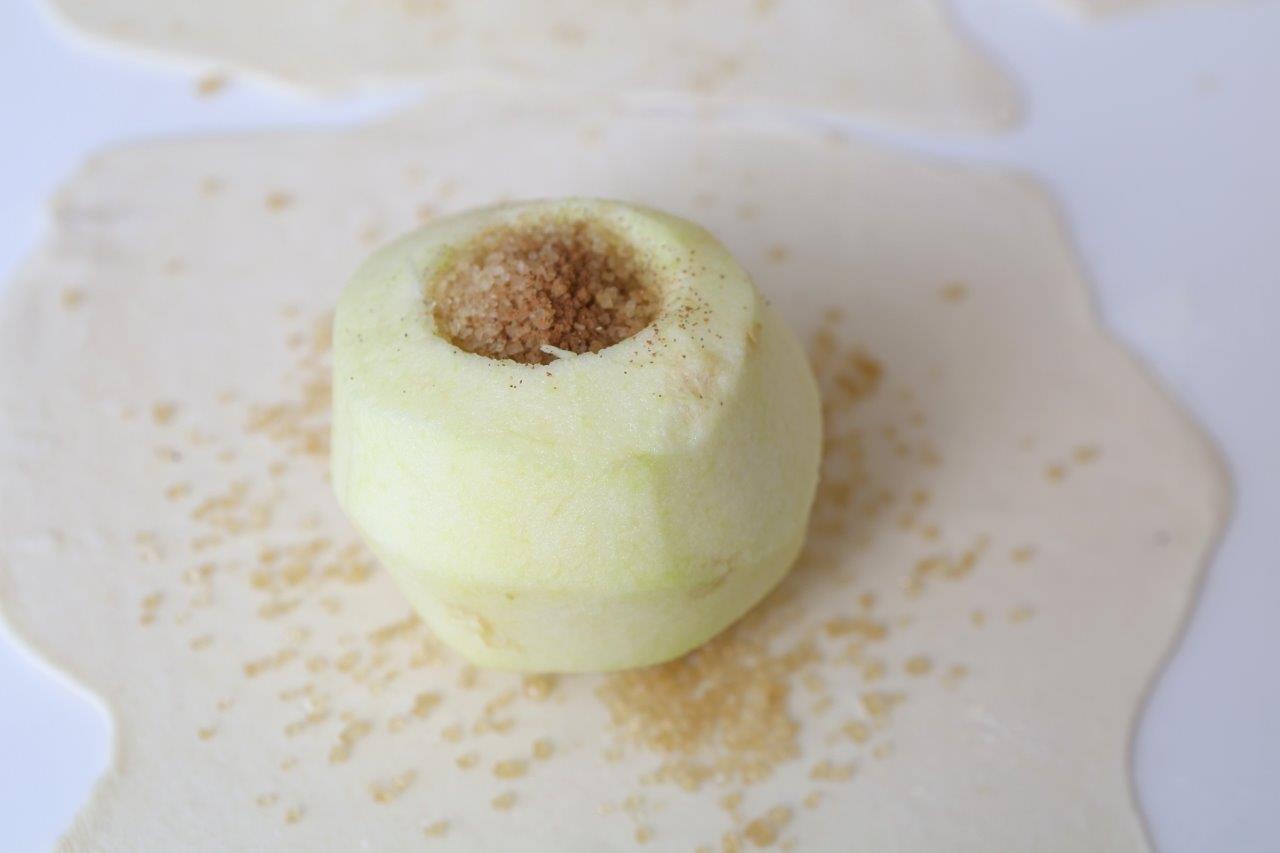
5. Roll out each square as thin and big as you possibly can to cover a whole apple. Sprinkle a tsp of sugar on the dough evenly. Place the apple in the middle and fill up the largest cone with sugar and sprinkle cinnamon on top.
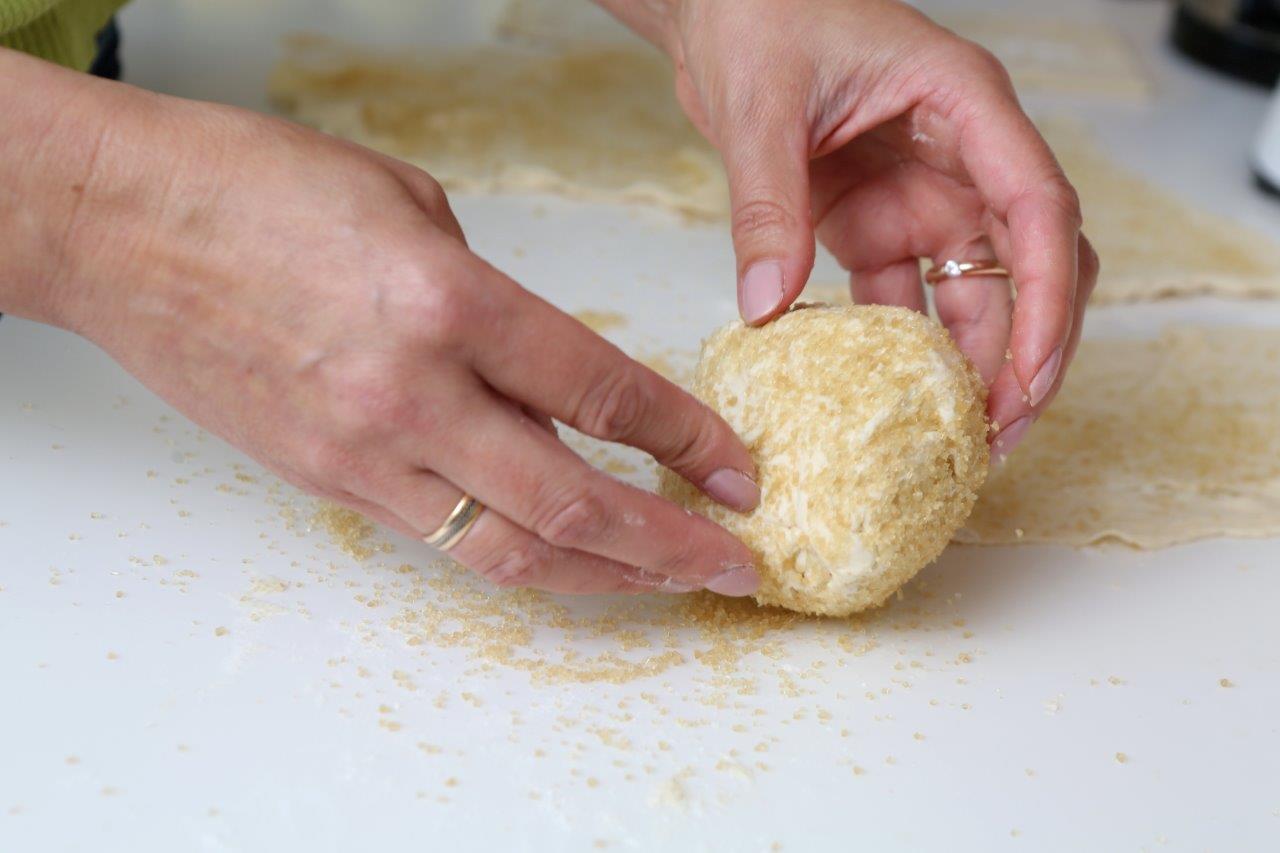
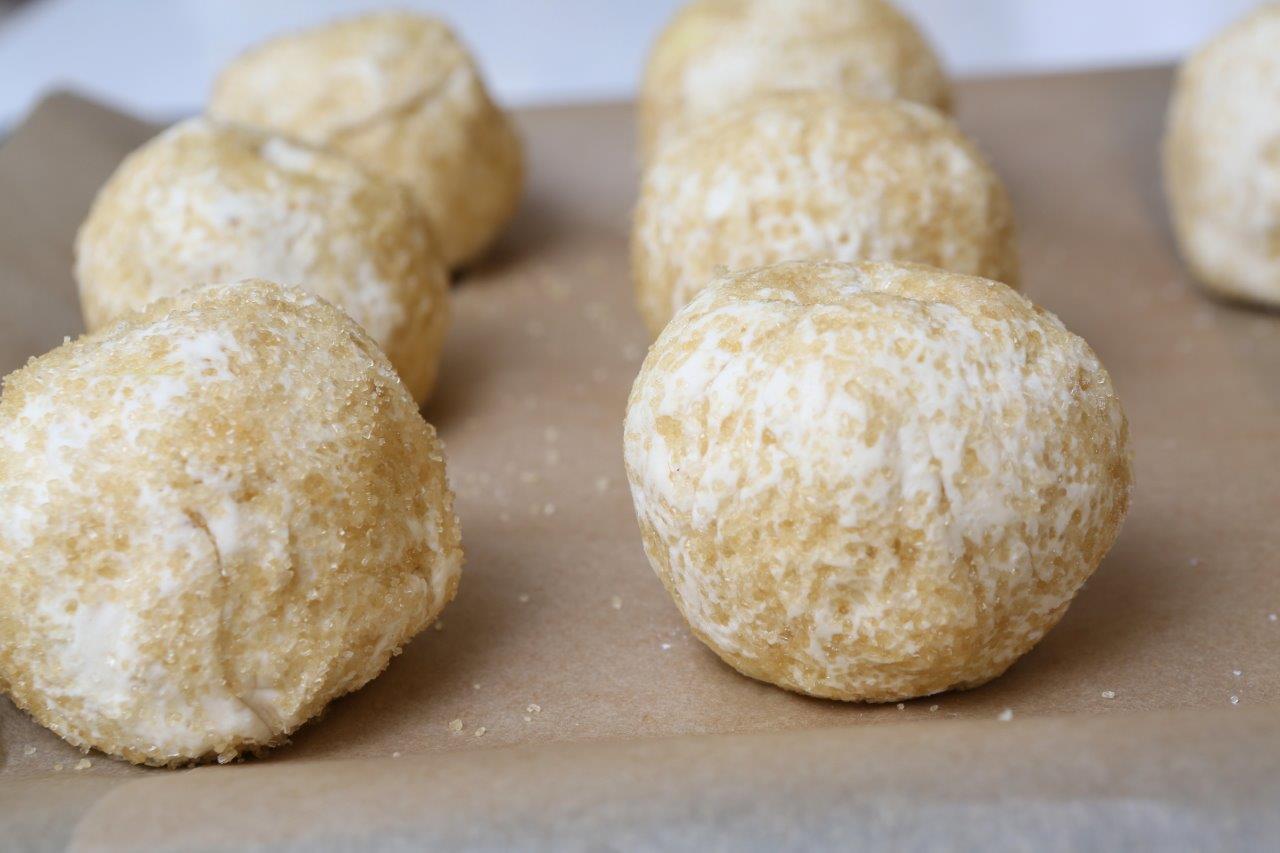
6. Take the corners of the dough square and stick together on top of the apple. Sprinkle sugar on thecounter top and evenly roll the apple in the sugar to be completely covered.
7. Place in the prepared baking pan and bake for 20-30 min until golden brown and caramelized.
8. Serve hot or cooled- with some vanilla ice cream.
Recipe: Ārija Avota
Photo: Ieva Andersone (IG: @photoievaandersone)
Publication: Ievas Receptes


