Carrot cupcakes
Carrot cake has a very nice and interesting taste that really complements fall- the play of the used spices creates an amazing smell that fills your home and always has everyone asking: what are you making?!
If you have never tried carrot cake, I highly recommend to try it and no be afraid of the fact there is a vegetable in cake :) And also do not be discouraged of the long list of ingredients because everything can easily be made in two bowls and doesn’t take long.
This is actually a very versatile recipe because you can use the same batter for cupcakes or cake (pour it in a 20 cm pan and bake for 30 min checking the readiness with a toothpick).
For the cupcakes
300 g carrots, peeled and grated
2 eggs, room temp
100 g sugar, can use brown sugar too
160 ml (160 g) rapeseed oil (or any other oil without a distinct smell- sunflower, vegetable, etc.)
160 ml (120 g) unsweetened applesauce
1 tsp vanilla sugar or vanilla paste
100 g walnuts or pecans, chopped
175 g all purpose flour, 1/3 can be replaced with whole grain
1 tsp baking soda
1 tsp cinamon
Pinch of salt
For the icing
100 g cream cheese
30 g heavy cream
50 g powdered sugar
Makes 12 cupcakes
Make the cupcakes
1. Chop the walnuts or pecans. Wash, peel and finely grate the carrots in a large bowl (can use a food processor if you have one)
2. In that large bowl with the carrots add eggs, sugar, oil, applesauce and vanilla and beat together using a wire whisk. Mix until sugar is dissolved.
3. Heat the oven to 180 degrees (celsius) and line a muffin tin with paper liners.
4. In a small bowl whisk together the dry ingredients- flour, baking soda, cinnamon, salt and chopped walnuts. Then stir in with the wet ingredients but just until incorporated, do not overmix. It’s ok if there are some lumps left as they will continue to mix when putting batter in the muffin tin.
5. Fill the muffin tin evenly with the batter- do not be afraid to fill the tin to the top, because this batter doesn’t raise too much over the top.
6. Place the tin in the middle of the oven and bake for 17-22 min. I suggest checking the readiness with a toothpick after 17 min and bake some more only if necessary. Since ovens differ greatly, it could be you need to bake a little longer, but not longer than 25 min since you don’t want to overbake and have dry cupcakes. Remove from oven and let cool for at least 20 min.
Make the icing
7. While the cupcakes are cooling you can make the icing. Use a deep, narrow container or bowl and soften the cream cheese with a spatula.
8. Cream cheeses sometimes differ in consistency- some are thicker and others are more liquid, so look at that to determine how much to soften the cream cheese before using a mixer to beat it. Start beating it until fluffy and then add the powdered sugar and beat until nice and smooth.
9. Slowly and gradually add the cold heavy cream while beating constantly. This is also where you check the consistency because a thicker cream cheese may need more heavy cream and vice versa. In the end the icing should be a nice stiff but creamy consistency.
10. Place the icing in the fridge to cool a bit more while still waiting for the cupcakes to cool too (you can’t put icing on a warm cake).
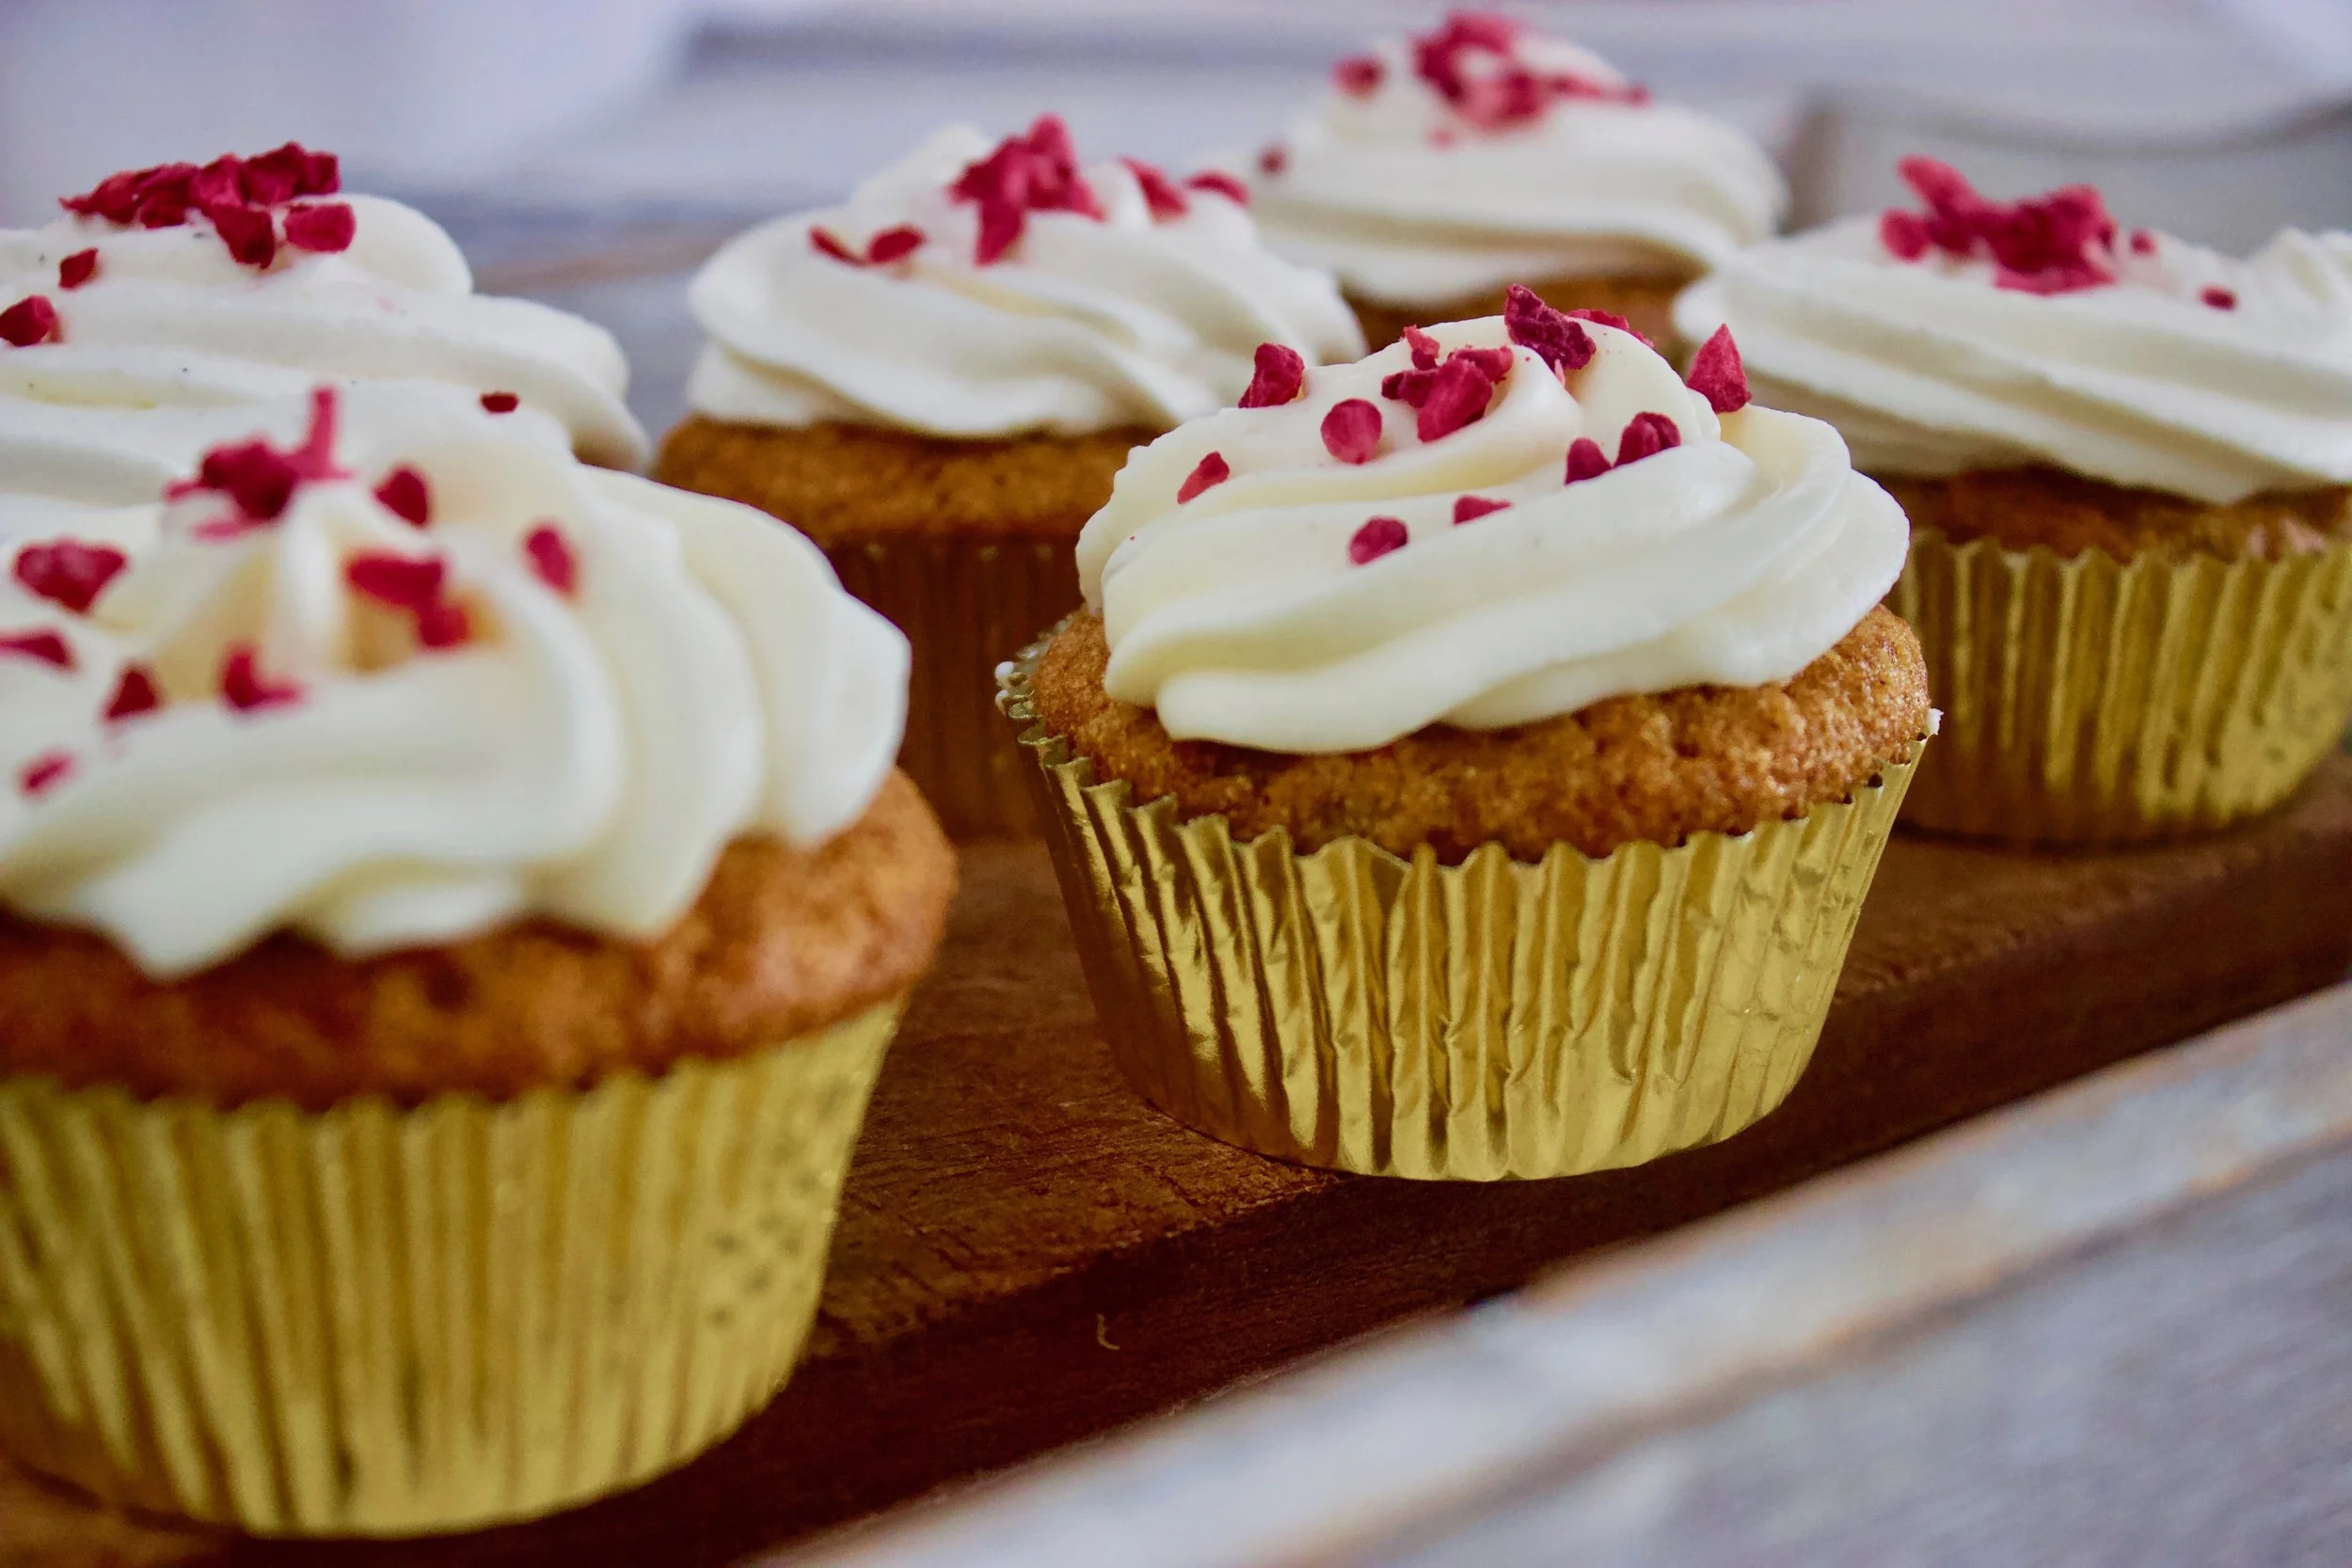
11. Take a piping bag and place the decorating tip you want on the end of it (for the cupcakes in the photo I used the standard “star”) and fill the bag with the icing. Decorate each cupcake with a swirl, starting from the outer edge to center and up. The icing doesn’t have to be perfect, the flavor combo is delicious either way! So even if you do not have the tools necessary for decorating- you can use a spatula to spread the icing on more freely.
12. Serve immediately or save for the next day in the fridge.
Recipe: Anna Inne-Smilga
Photo: Oto Avots


